What is Blender?
Blender is a software application for open-source 3D scene creation and rendering.
Why would we want to automate Blender?
I have many reasons, but my focus is on creating synthetic data to train new machine learning algorithms. I’m interested in doing more with less annotated data, and mixing actual data with synthetic data is an up-and-coming solution.
Using Blender, we can generate arbitrary amounts of synthetic data and precisely control the scene. Because of this, we can create metadata simultaneously and generate data that covers the available input space better.
A classic example is the CLEVR dataset, used for Visual Reasoning.
How can we automate Blender?
Blender has a comprehensively documented API. However, I love using Blender’s scripting mode to experiment.
In short, we can create a python script, which we can run using Blender.
blender --background --python myscript.py
Hello World
Let’s walk through what myscript.py could look like:
import os
import bpy
Objects
When Blender loads, the default scene contains a cube called Cube. Let’s adjust its position and scale.
cube_scale = 0.5
bpy.data.objects["Cube"].scale = (cube_scale,cube_scale,cube_scale)
bpy.data.objects["Cube"].location = (0,0,cube_scale)
We can also create a ground plane and add that to the scene.
bpy.ops.mesh.primitive_plane_add(size=1000, enter_editmode=False, align='WORLD', location=(0, 0, 0), scale=(1, 1, 1))Our next task is to create materials for the objects we have added to the scene.
Material
def create_material(object_name,material_name, rgba):
        mat = bpy.data.materials.new(name=material_name)
        bpy.data.objects[object_name].active_material = mat

        mat.use_nodes = True
        nodes = mat.node_tree.nodes

        nodes["Principled BSDF"].inputs['Base Color'].default_value = rgba
        nodes["Principled BSDF"].inputs['Specular'].default_value = 1
nodes["Principled BSDF"].inputs['Roughness'].default_value = 0.1create_material("Cube","Cube_material",(3/255.0, 223/255.0, 252/255.0,1))
create_material("Plane","Plane_material",(252/255.0, 3/255.0, 235/255.0,1))Lights
def configure_light():
        bpy.data.objects["Light"].data.type = 'AREA'
        bpy.data.objects["Light"].scale[0] = 10
        bpy.data.objects["Light"].scale[1] = 10

configure_light()
Camera
Now let’s configure the camera’s position and orientation/attitude (Using quaternions).
def configure_camera():
        bpy.data.objects["Camera"].location = (5, -5, 4)
        bpy.data.objects["Camera"].rotation_mode = 'QUATERNION'
        bpy.data.objects["Camera"].rotation_quaternion = (0.892399, 0.369644, 0.099046, 0.239118_

configure_camera()
Action! (Renderer)
Finally, let’s configure the renderer. I’ve chosen to use Cycles, a physically-based renderer/ray tracer.
def configure_render():
bpy.context.scene.render.engine = 'CYCLES'
bpy.context.scene.render.filepath = os.getcwd()+"/render.png"
bpy.context.scene.render.resolution_x = 1920
bpy.context.scene.render.resolution_y = 1080
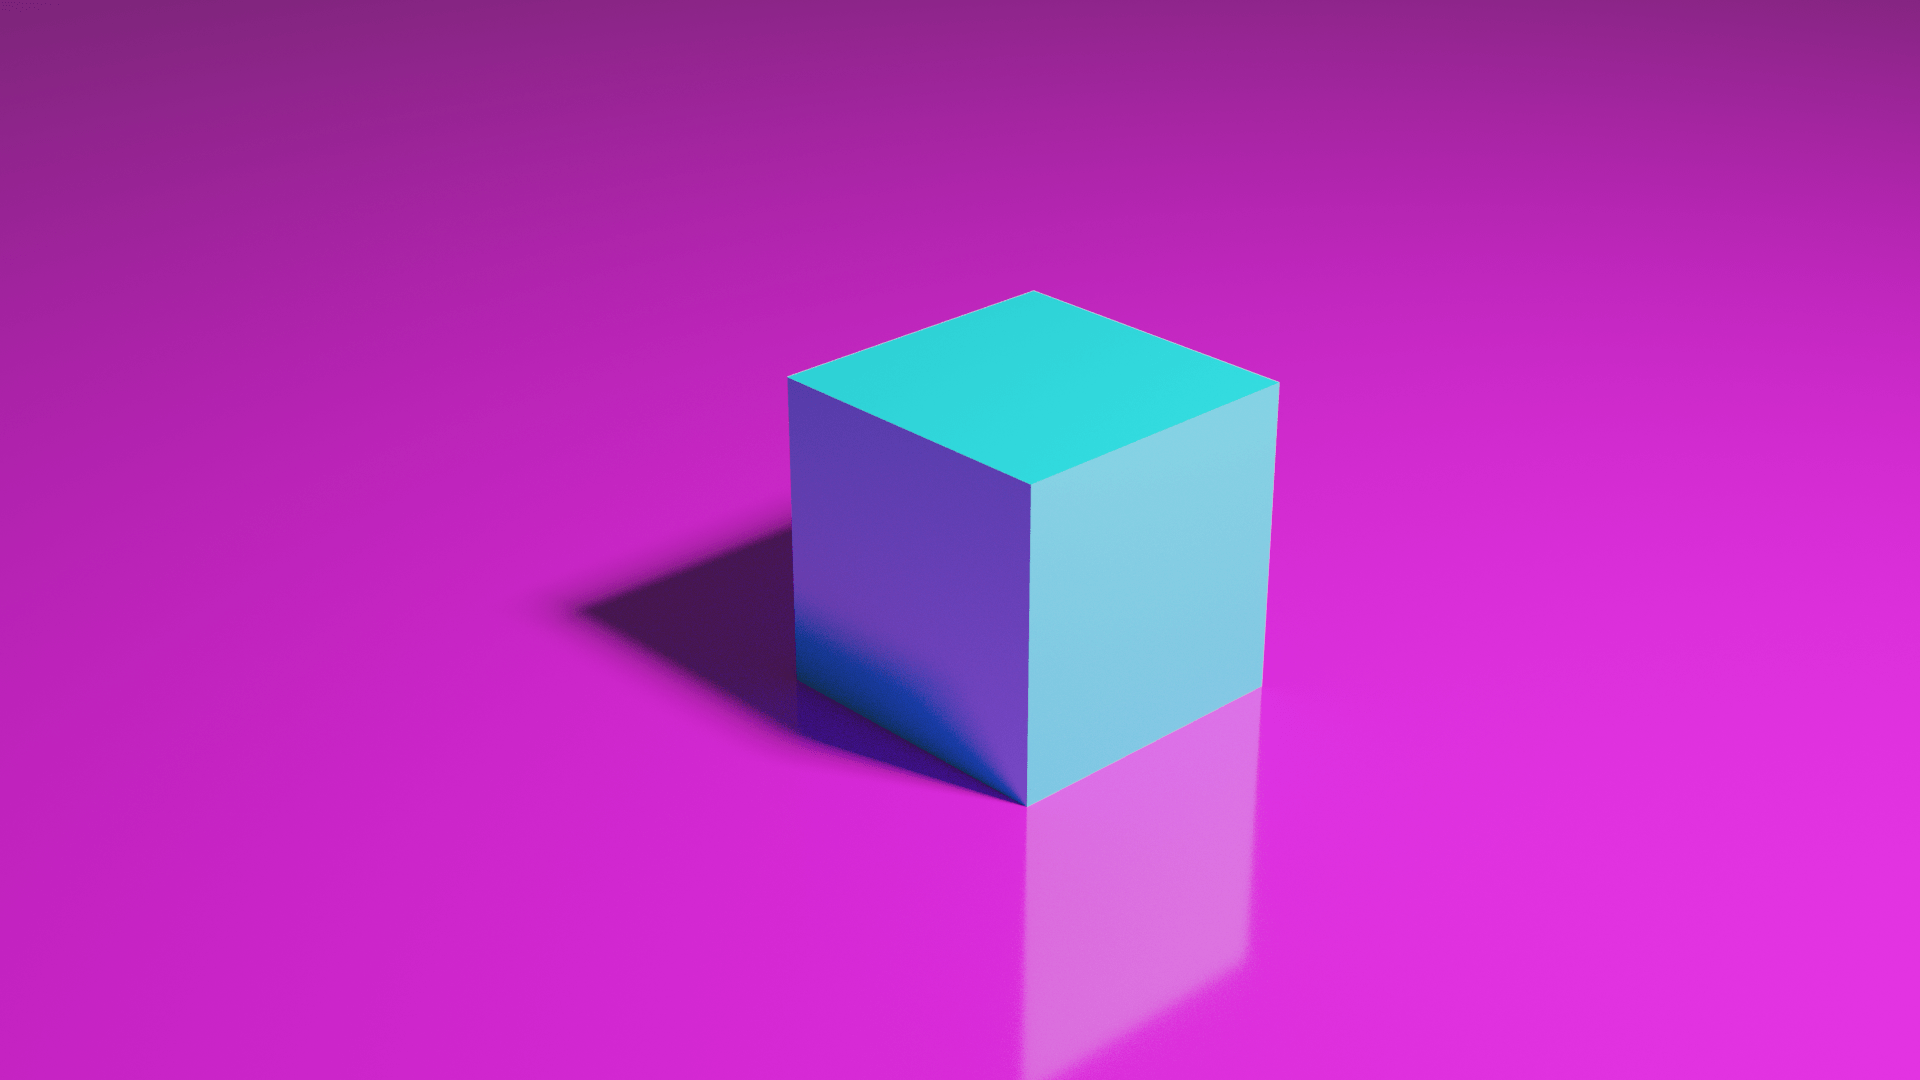
configure_render()And we can finish by rendering the image and writing it out as render.png.
bpy.ops.render.render(write_still=True)The Results